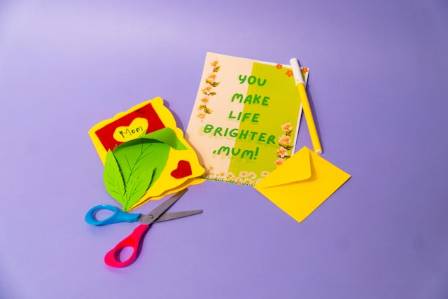
There are countless ways to begin a creative project, and none of them are truly incorrect. That said, some approaches can make the journey smoother. Here, I’m sharing insights gathered from years of using collage as a sketching technique. We’ll look at how to find inspiration, choose the right scale, select materials, cut elements, and secure your collage effectively.
Getting Started
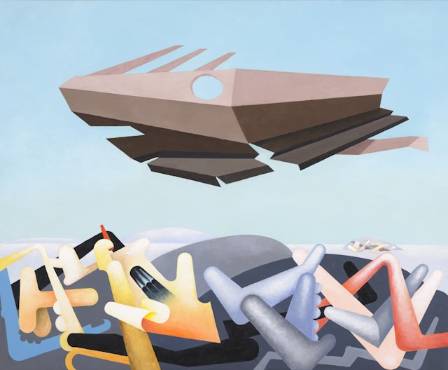
For me, inspiration often comes from nature, studying great artists, and doing research. For instance, a pair of papercut collages I created were influenced by El Greco, based on sketches I made at The National Gallery in London.
Choosing the Right Scale
Decide whether your collage is a preliminary study for a larger project or a finished piece on its own. The size you choose should influence the surface you work on. In my early days, I used whatever I could find—cardboard, even old pizza boxes—but those materials didn’t last over time.
If you’re working on a larger scale, consider using mountboard, plywood, or canvas. You can even incorporate the background into your design by leaving areas exposed with bold colors.
Tip: Collage can be very time-intensive. If you’re working on a commissioned piece with a deadline, stick to a size you’re already comfortable with.
Selecting Materials
Your material choices should reflect the message of your artwork. Personally, I try to reuse papers, fabrics, and other materials whenever possible. High-quality paper tends to remain stable, while organic items like leaves or dried flowers require extra care to prevent damage over time.
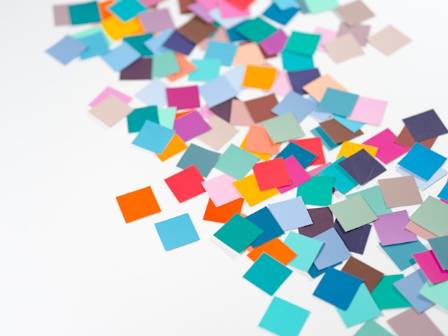
If you’re purchasing paper specifically for collage, start with origami or decoupage paper. These are thin, easy to cut, and great for layering. Double-sided designs also add flexibility for both flat and textured compositions.
Tip: Always create your work as if it will be displayed for decades—because someone out there may treasure it for that long.
Cutting Techniques
I admire artists who specialize in detailed hand-cut work, such as Claire Brewster, known for her intricate bird designs made from maps. If you have steady hands, hand-cutting can give your work a beautifully organic, drawn quality.
That said, tools like Cricut or Brother ScanNCut machines can save time and allow for precise, repeatable designs. Don’t overlook simple tools like a paper guillotine either—it’s excellent for clean, straight edges and structured compositions.
Tearing paper is another technique worth exploring. It creates a softer, more natural look. Combining torn edges with precise cuts can produce especially striking results.
Attaching Your Collage
The adhesive you choose is just as important as your surface. Even the best base won’t look good if the glue stays sticky or turns yellow over time.
When I started, I used basic glue and PVA, which often resulted in uneven textures and discoloration. As my work began to attract buyers, I realized I needed better materials.
Now, I use Mod Podge or Decoupatch for lighter materials like paper, and Gorilla Glue for heavier elements such as wood. Once the piece is complete, I seal it with a few coats of varnish to protect it.
Tip: Apply two layers of matte varnish first and photograph your work before adding a gloss finish. This helps avoid glare in photos.
Do You Have to Use Glue?
Not at all. Collage can be assembled in many creative ways—stitching, stapling, clipping, or any method that suits your artistic style.
Final Thoughts
Collage has been a deeply engaging and rewarding medium for me over the years. Now that you’ve seen my approach, why not experiment with your own process? Try different materials and techniques, and discover what works best for you.