Wow your guests at your next gathering with a vibrant, easy-to-assemble fruit platter loaded with a variety of fresh fruits. Not only is it simple to prepare, but it also looks incredibly eye-catching on any table.
If you enjoy serving a spread of tasty appetizers, this fruit tray is a great addition alongside favorites like dips or wings for entertaining.
Fruit Platter Basics
A fruit platter is a large serving board filled with an assortment of cut, ready-to-eat fresh fruits. It’s commonly featured at parties, weddings, holidays, and barbecues. One of the best things about making your own fruit tray is how customizable it is—you can tailor it to your taste and use fruits that are in season year-round.
This version is inspired by professional catering displays, designed to be both visually impressive and easy to recreate at home.
Choosing the Right Fruits
The fruit you select can vary depending on the season. For a summer-inspired platter, tropical fruits and berries work beautifully. In cooler months, you might lean toward apples, pears, and citrus.
Melons: Cantaloupe, honeydew, and watermelon are great staples. Other options include Crenshaw or canary melon.
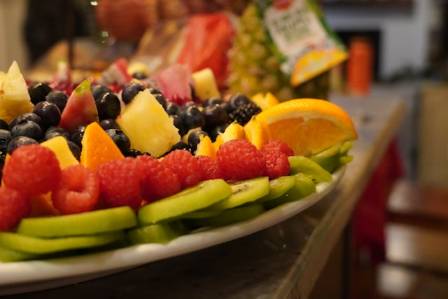
Berries: Strawberries, blueberries, raspberries, and blackberries add bright color and sweetness.
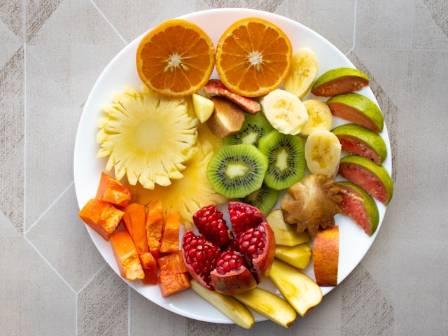
Unique fruits: Kiwi, golden kiwi, papaya, mango, or dragon fruit bring variety and visual appeal.
Pineapple: A must-have for a refreshing summer tray.
Grapes: Red, green, black, or champagne grapes help fill empty spaces nicely.
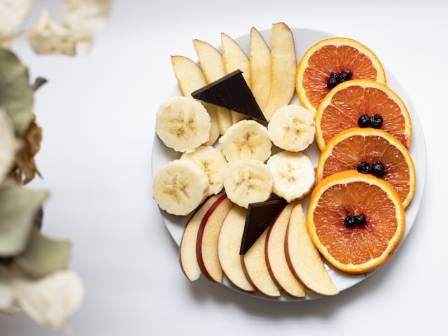
Optional dips: Fresh fruit often doesn’t need extras, but chocolate sauce or a cream cheese dip can be added if desired.
Three Tips for a Stunning Display
Create a focal point: A standout centerpiece instantly draws attention. For this platter, a carved watermelon basket works beautifully.
Use a range of colors: Mixing fruits of different shades makes the arrangement more visually striking.
Add garnishes: Small touches like mint leaves, extra berries, or edible flowers help fill gaps and enhance the overall look.
How to Assemble the Fruit Platter
Prepare the centerpiece:
Carve a watermelon into a basket shape.
Scoop the watermelon:
Use a melon baller to remove the flesh and create small spheres.
Fill the basket:
Add larger watermelon chunks first, then top with the melon balls.
Cut the remaining fruit:
Slice cantaloupe, honeydew, and pineapple into neat, even pieces.
Arrange the base:
Place the watermelon basket in the center of your serving tray.
Add sliced fruits:
Arrange cantaloupe slices around the centerpiece in a fan or “T” shape. Repeat with honeydew and pineapple.
Fill in gaps:
Add berries and sliced kiwi between the larger fruit sections to complete the layout.
Finish the presentation:
Top the watermelon basket with extra berries and garnish with fresh mint leaves.
Make-Ahead & Storage
Make ahead: Assemble the platter up to 24 hours in advance. Cover tightly and refrigerate. Take it out about an hour before serving for the best flavor.
Storage: Keep covered in the fridge for up to 3 days. Leftover fruit can be frozen and used later in smoothies.
This fruit platter is a simple yet elegant way to elevate any gathering, combining fresh flavors with a beautiful presentation that everyone will enjoy.